How Do You Install Drywall on a Ceiling?
How Do You Install Drywall on a Ceiling?
Drywall’s use in a variety of applications is partially due to how easy it is to install. Being easy to install does not mean that you can hang it however you like, however. There are certain tried and true methods for hanging drywall that should be followed to ensure a long-lasting and durable installation. This is especially true when you are installing drywall on a ceiling.
The basic process for hanging drywall on a ceiling is the same as for hanging any other drywall. The fact that you are working above your head can complicate the issue, however, and there is no room for error as gravity is working hard to pull down the drywall you are installing.
The first step is to measure your ceiling and cut your drywall to size. Find and mark the ceiling joists, as well as any holes that will need to be cut for vents, ceiling fans, or light fixtures. You will not cut holes for these items until after the panels are hung, so note the exact distances that they are from the walls. When calculating where to cut your drywall, always measure to the center of a joist. Seams should always be placed along a joist, so two panels will need to be screwed into the joist anywhere a seam is required. If the room requires more than one row of drywall, plan your cuts so that the seams will be staggered.
Once you have planned, sized, and cut your drywall, it is time to secure it to the ceiling. Lift the first sheet of drywall into its place so you can see exactly what area it will cover, then apply adhesive to this area. Drywall adhesive dries quickly, so only apply enough adhesive for one panel at a time. Lift the drywall into place and use drywall screws to secure it to the joists. Place screws ½” to ⅜” from each edge and no more than 12” apart throughout the interior of each sheet.
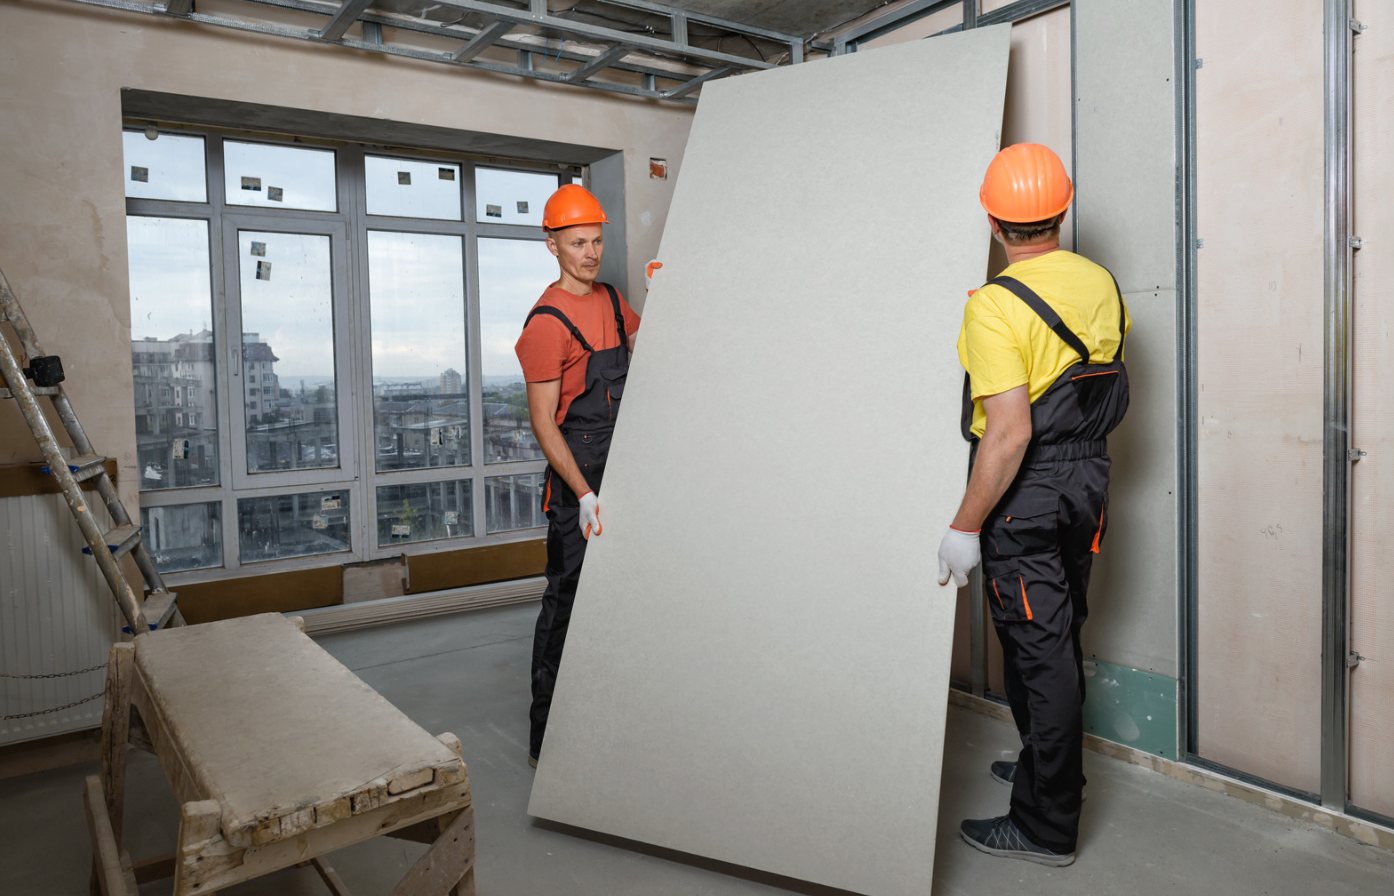
We highly recommend having an assistant or two to help hold the drywall up while you screw it into place. If you must work alone, a drywall lift or T-brace should be used to hold the drywall in place while you secure it. Drywall lifts can be rented relatively inexpensively, and a T-brace can be easily constructed from two pieces of lumber.
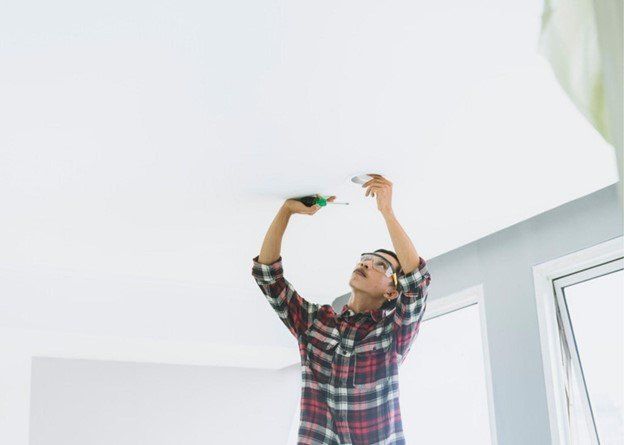
Repeat this process until all panels are secured. Once all panels are hung, use the measurements you noted before you began to mark and cut out holes for vents and fixtures. These cuts are best made with a rotary cut-out saw or similar tool. Make the cuts as precise as possible to avoid having to patch unsightly holes after the fixtures are installed.
Your drywall ceiling is now installed and ready to be textured and
painted! With proper installation, you can rest easily under your new ceiling knowing that it will be secure for years to come.
Still have questions?
Our drywall installers are here to help with all your drywall needs!
You might also like
